Assignment 2
Learning Vim and Screen using Ubuntu Terminal
Objective:
In this assignment, you will deepen your understanding of two essential command-line tools in Ubuntu: vim, a powerful text editor, and screen, a terminal multiplexer.
You will complete four exercises—two focusing on vim and two on screen.
Throughout the assignment, you will document your process in a Markdown (.md) file and include screenshots saved in a figure directory.
Instructions:
- Create a Project Directory:
Open your terminal and navigate to your home directory (cd ~).
Create a new directory named Assignment2:
mkdir Assignment2
Inside Assignment2, create three subdirectories: figures, vim and screen:
mkdir figures vim screen
- Learning Vim
Go the vim folder:
cd ~/Assignment2/vim
Create two new files named exercise_vim.txt and README.md using the touch command:
touch exercise_vim.txt README.md
Open both files simultaneously in Vim with a vertical split:
vi exercise_vim.txt README.md -O
In exercise_vim.txt window:
Insert the following lines into the file using Vim.
This is an exercise file for Assignment 2.
In README.md window:
Insert the following lines into the file:
# Assignment2: Learning Vim
This is a simple file created and edited using `Vim`.
# What We Learned?
- Introduction to Vim and Basic Usage
- Basic Editing Commands
- Saving Files and Exiting Vim
- Searching and Navigation
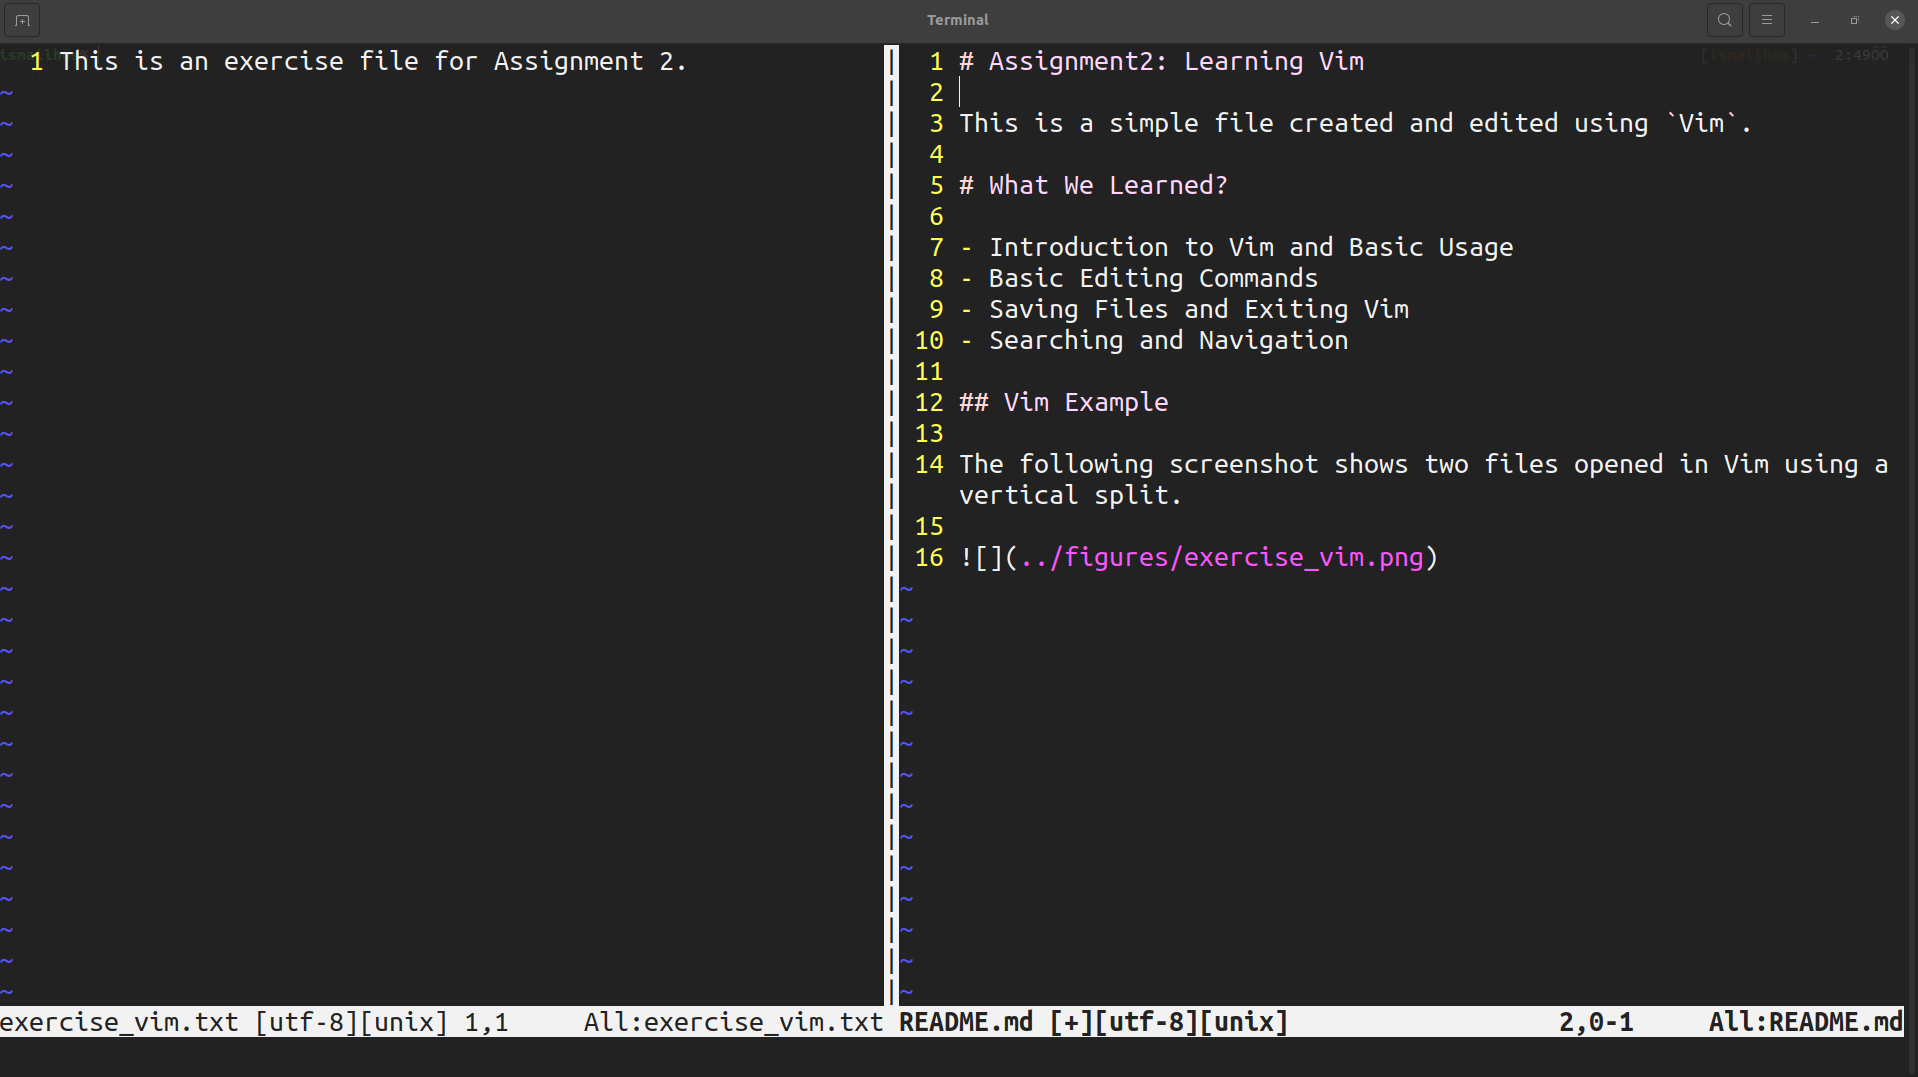
## Vim Example
The following screenshot shows two files opened in Vim using a vertical split.

Now, take a screenshot of your terminal showing the two files (exercise_vim.txt and README.md) opened side by side in Vim using a vertical split as in the figure below.

Save this screenshot that you have taken as exercise_vim.png in the figures folder that you created inside the Assignment2 folder.
Save the files and exit them.
- Learning Screen
Now, go to your screen directory:
cd ~/Assignment2/screen
exercise_screen.txt and README.md, using the touch command:
touch exercise_screen.txt README.md
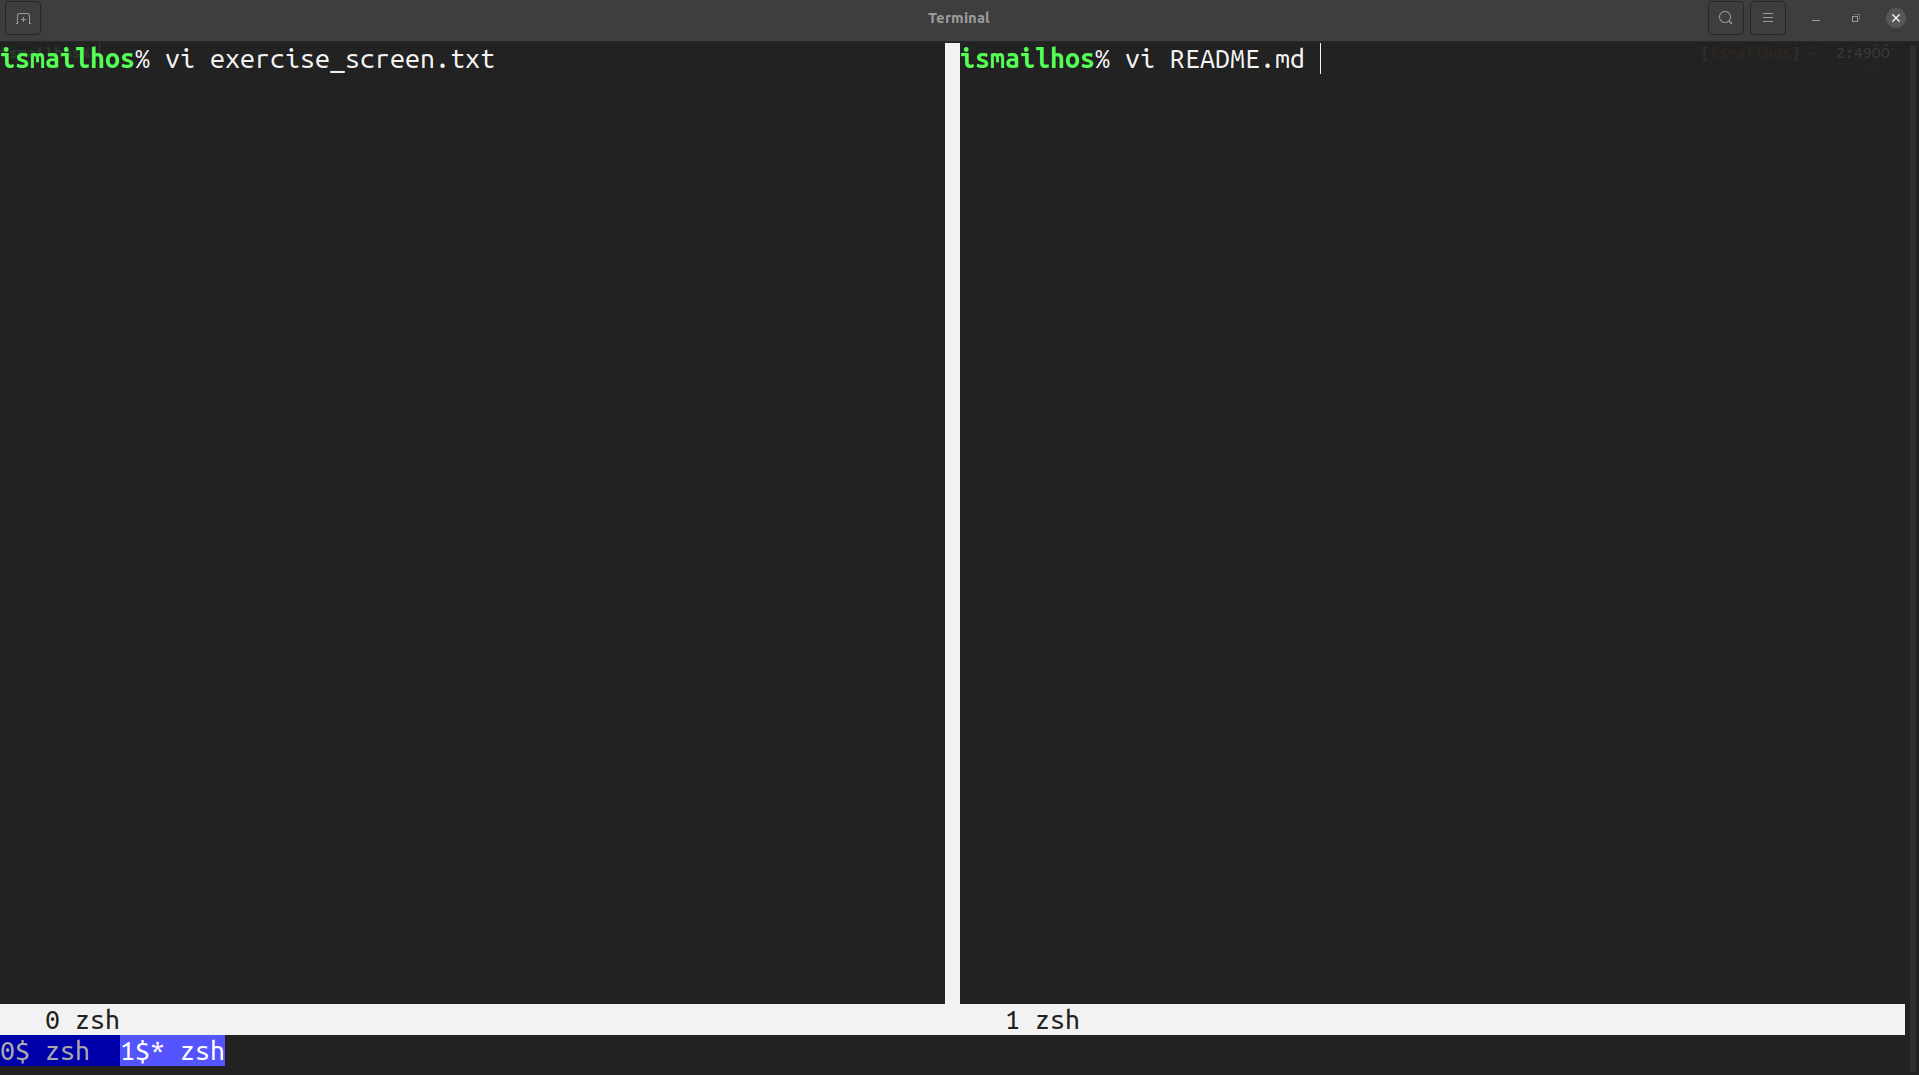
Create a second window within the same screen session.
In one window, open exercise_screen.txt, in the other window, open README.md with Vim:

In exercise_screen.txt window:
Insert the following lines into the file using Vim.
(Fill in the blanks with the correct screen commands you've learned in this lecture:)
This is an exercise file for Assignment 2.
In the other window, open the README.md file in Vim and write the following content:
# Assignment 2: Learning Screen
This is a simple file created and edited using `vim` in separate windows managed by `screen`. Using `screen`, we can handle multiple terminal windows efficiently within a single session.
# What We Learned?
- How to create multiple windows within a `screen` session.
- How to switch between windows using `screen`.
- How to kill or close individual windows in a `screen` session.
- How to use `vim` inside multiple windows within `screen`.
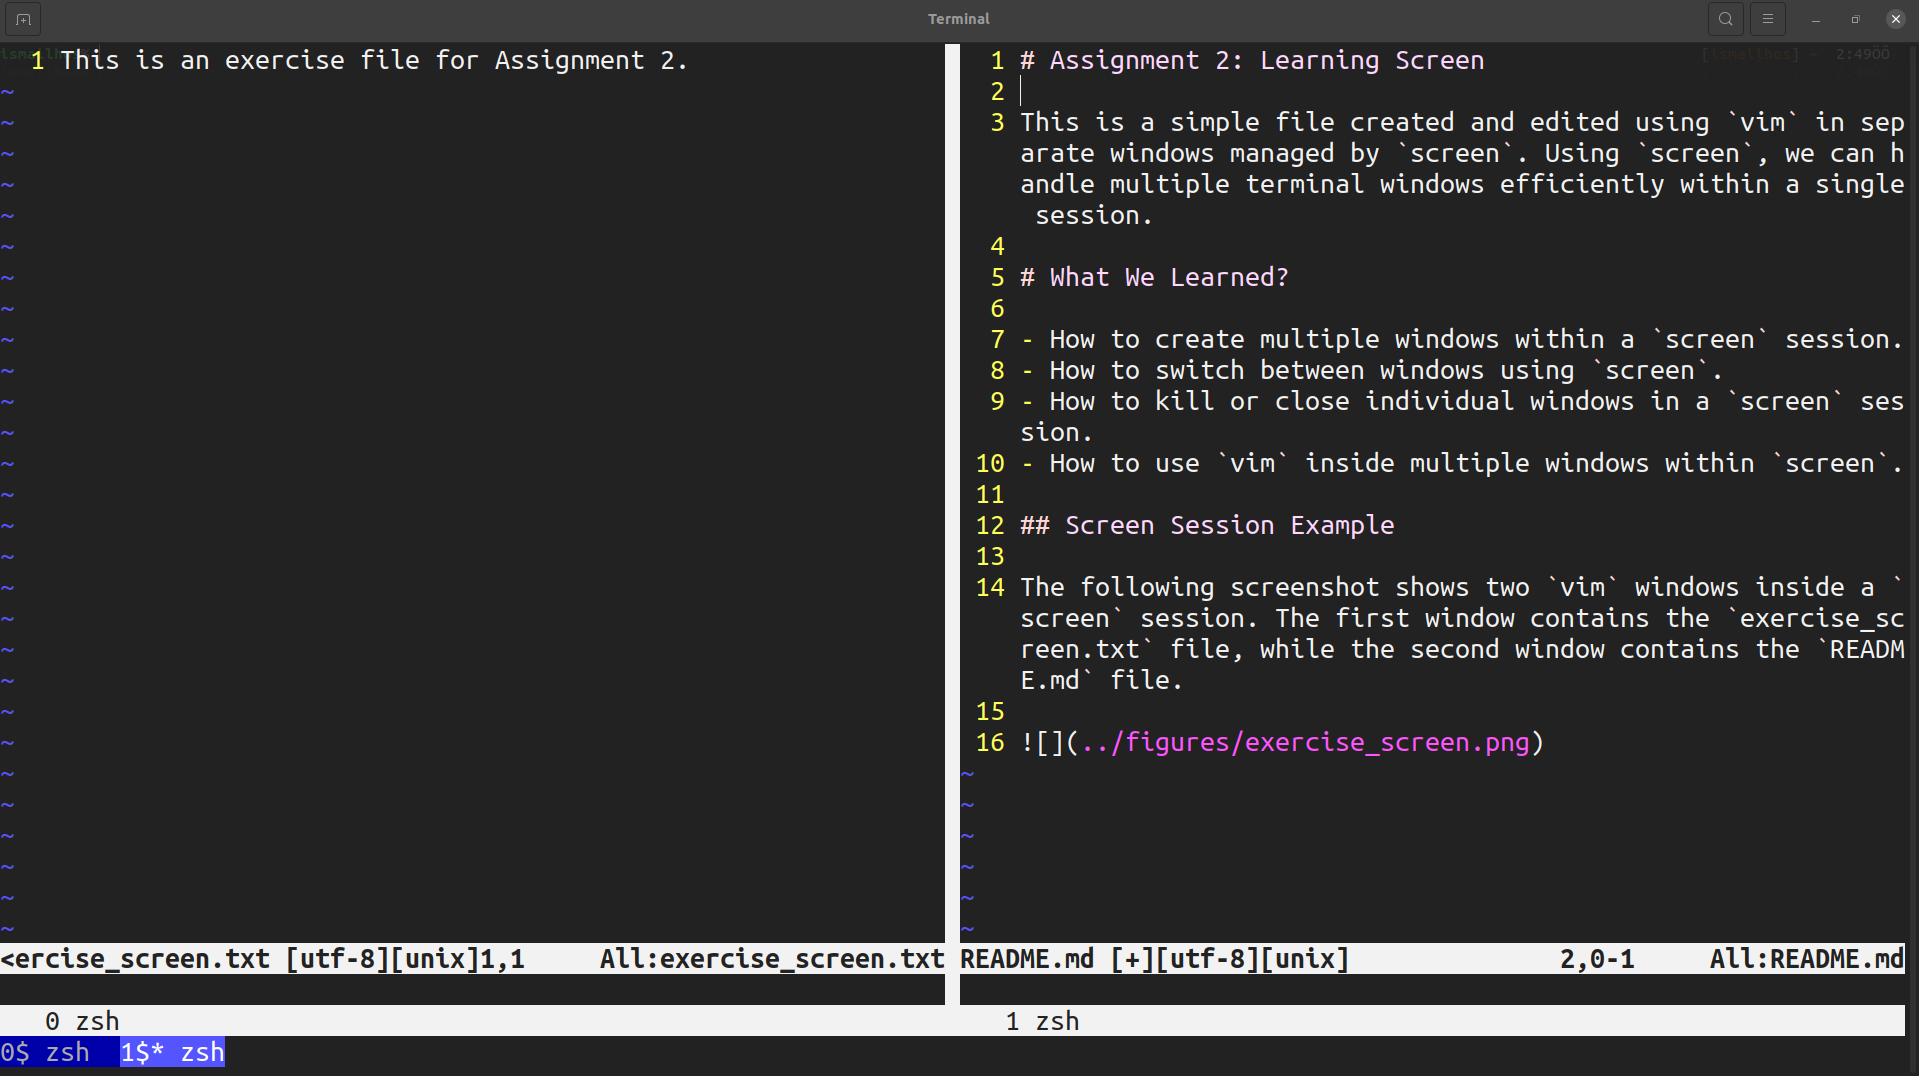
## Screen Session Example
The following screenshot shows two `vim` windows inside a `screen` session. The first window contains the `exercise_screen.txt` file, while the second window contains the `README.md` file.

Now, take a screenshot of your terminal, showing the two vim windows within the screen session as in the figure below.

Save this screenshot that you have taken as exercise_screen.png in the figures folder that you created inside the Assignment2 folder.
Then, save the files and exit them.
Create a README.md file in the Assignment2/ directory and write details of your assignment in it in Markdown language.
# Assignment 2: Learning Vim and Screen

## Objective

This assignment is to deepen your understanding of `vim` and `screen`, practice using them, and document your work in a structured project folder.

There are three folders here:

1. `Vim`

This folder contains 1 ".txt" file and 1 ".md" file related to learning "Vim".

2. `Screen`

This folder contains 1 ".txt" file and 1 ".md" file related to learning "screen".

3. `figures`

This folder contains 2 screenshots documenting your work with "vim" and "screen".
Assignment 2 Submission Guidelines: Folder Structure and Contents
In this section, you will find the required folder structure and contents for submitting Assignment 2. Please ensure that your submission follows the structure outlined below, with the correct files placed in the appropriate folders. This will help avoid any missing or extra files. (The following example is provided to guide you)
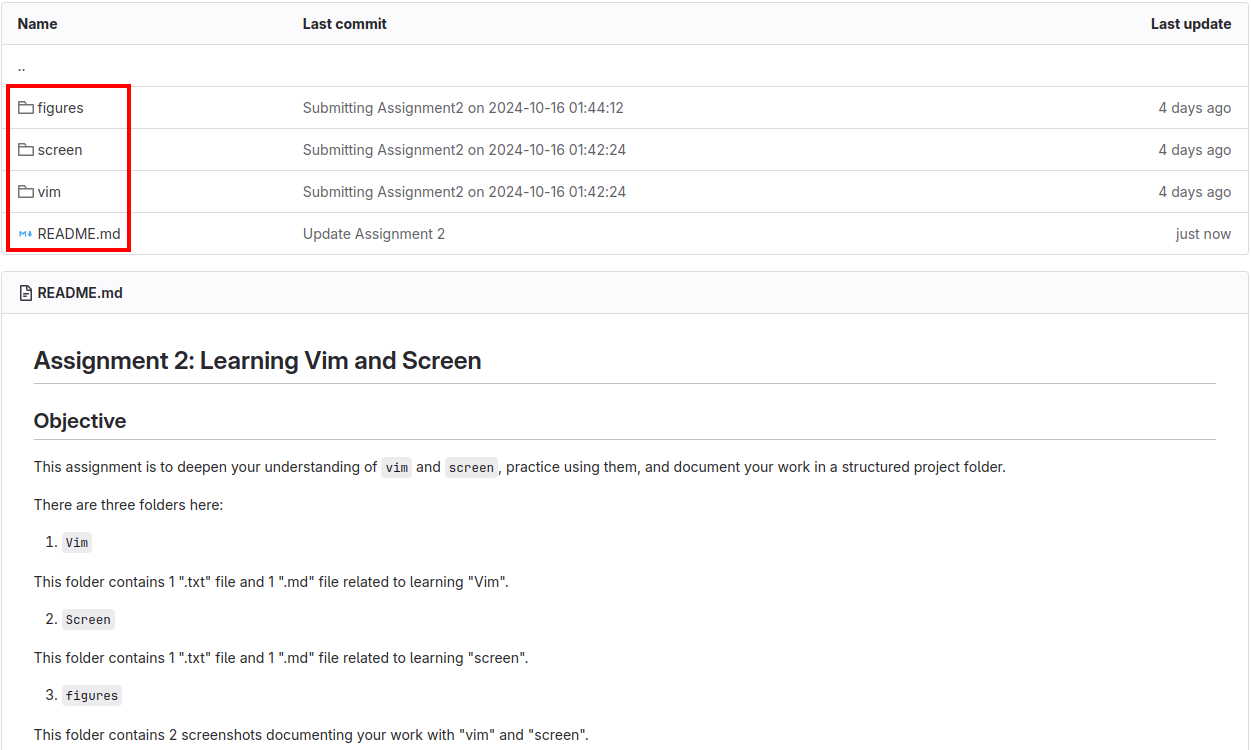
The image below shows the structure of the "Assignment2" folder that students need to upload.
Inside this folder, there are three subfolders (vim, screen, figures) and a README.md file.

The image below shows the contents of the "vim" folder.
It contains a README.md file and a .txt file. This folder documents the students' work related to Vim.

The image below displays the contents of the "screen" folder.
It includes a README.md file and a text file.
This folder is used to document the work related to Screen.

The image below shows the contents of the "figures" folder.
There are two screenshots documenting the students' usage of Vim and Screen in this folder.

Submit your Assignment 2:
Before running the submitAssignment.sh file, make sure you are in the "Assignment 2" folder.
Running this script in any other folder or subfolder may result in missing files being uploaded.
When executed in the correct folder, all files in the "Assignment 2" directory will be included in the submission.
- If everything is ready, type the following command in your terminal to submit your assignment:
submitAssignment.sh